
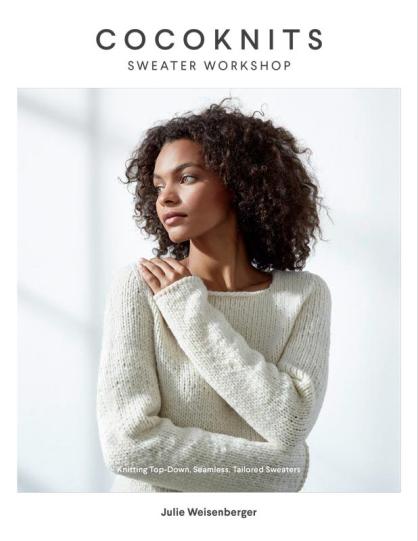
It’s fairly obvious that I am addicted to sweater knitting. My new drug of choice is the Cocoknits Method. Julie Weisenberger is the self-described “warm body behind Cocoknits.” Throughout her years of knitting, she has come up with a thoughtful method of knitting great-fitting, seamless, top-down sweaters. I’ve just finished my third Cocoknits Method sweater and my enthusiasm is high. Typically, the yoke is the trickiest part of top-down sweater knitting, and the Cocoknits Method simplifies that process significantly. Let me tell you a little bit about my own Cocoknits Method journey while I talk about the benefits and strengths of this process.


Several months ago Weisenberger released the Renee pattern, which looks like a comfy sweatshirt with the sophistication of a hand-knit sweater. When she later posted a pic of a modified version, knit in boucle with a ribbed hem, I settled on knitting the sweater. I came across the boucle yarn on one of my travels and got ready to cast on. I had the Cocoknits Sweater Workshop book, which I referenced throughout the knitting (it was a necessary resource). I was able to finish my Renee in a week, but I struggled with it. I had chosen a dark color of a very textured yarn, and as a result I couldn’t execute the increases and short rows as specified in the pattern because I couldn’t see my stitches.
You see, the Cocoknits Method uses different means of picking up stitches, increases, short rows, etc. I was able to execute its method of picking up stitches for my Renee sweater (the Cocoknits Method calls it “pick up then knit”) and that was a huge factor my appreciating the process. By definition, seamless, top-down sweaters don’t have seams around the shoulders. That’s great for finish-free knitting, but seams add structure to the garment. I won’t use certain yarns for seamless, top-down sweaters, because certain yarns need that seam to anchor the piece and keep it from turning into a mushy pool of knitting. But the “Pick Up Then Knit” creates a firm faux-seam at the shoulders that will anchor your knitted fabric. This method gives us the best of both worlds!
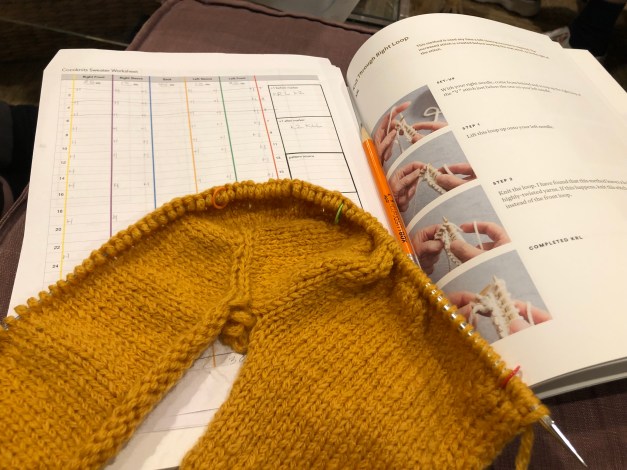
The other enormous advantage of the Cocoknits Method is “The Worksheet.” This spreadsheet is color-coded, making use of those adorably bright Cocoknits Colored Stitch Markers we all love so much. In the worksheet, you break down the parts of the sweater (fronts, sleeves, and back) with the various colors, and on the worksheet you write in where and when you do increases throughout the yoke shaping. I’m not one to keep copious notes throughout the shaping, but I know many MANY knitters who are. Even for me, this worksheet streamlines the process greatly. I would highlight or make a mark through each row as I completed it, so I could easily keep track of my progress. If I forgot to mark up my worksheet, I could easily count to see where I was because of how the worksheet is broken up. It’s practically fool proof.
Even though my Renee sweater was not the truest Cocoknits experience (I wasn’t able to learn the KRL/KLL increases or the shadow wrap short rows properly), the appeal of the process was clear. I decided that I’d go back to basics and do another Cocoknits Method sweater, and I’d start with the easiest one possible.
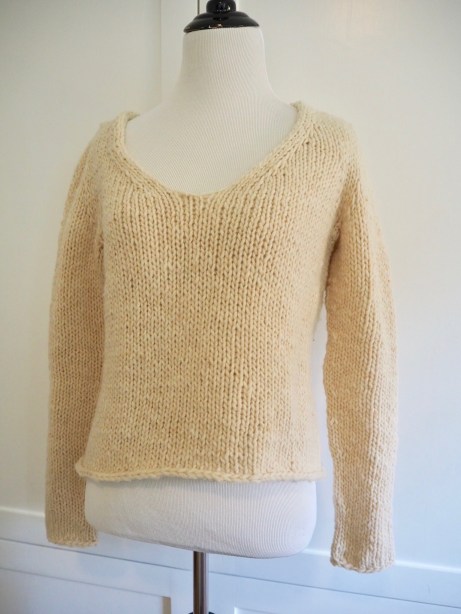
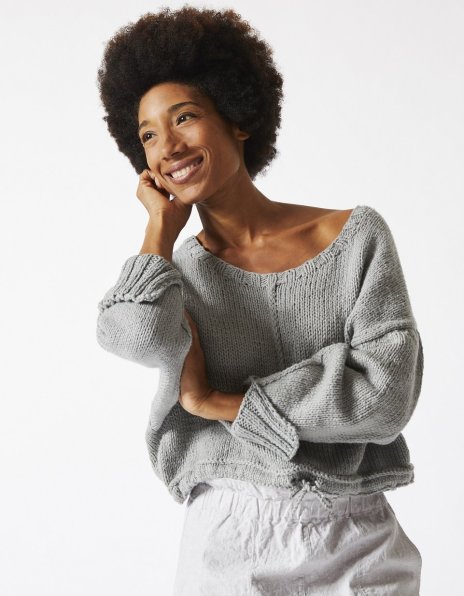
Emma was my next Cocoknits Method sweater. It’s pictured on the front of the Cocoknits Sweater Workshop book, and there are a few different versions (v-neck, square neck and cardigan). I opted to knit up the V-neck using Brooklyn Tweed Quarry. This project is meant to teach the process clearly and on a relatively quick project (mine took me four days), and it did just that for me. I followed the pattern to a T, knitting a size that gave me 2” of positive ease. I was able to learn those unique increases (KRLs and KLLs) and I zoomed through the project at record speed because of the worksheet’s clarity. There’s a hint of shaping, and the end result is a totally cozy, feminine sweater that’s generous without being oversized.
I took a lot away from my Emma experience. I noticed things about the fit of the sweater that could easily be modified in the pattern. Just as an example, I have broad shoulders. If I wanted to increase the girth of the yoke around the shoulders, I could insert a row of increases in between the ones that already exist. Or I could lengthen the yoke by adding in an extra row or two. If needed, I could easily make the arms more roomy or give more space in the bust. This very simple sweater made me see how much room for customization there is in this process. Plus, throughout the book Weisenberger gives tons of tips and recommendations for choosing silhouettes that flatter various body types, and how to tweak your sweater to fit you.
One more thing: all of those adorable Cocoknits Notions (from the stitch markers to the stitch stoppers to the leather stitch holders) are designed to support this process – and they do. Using the tools simplifies the process. The colored stitch markers are a must!
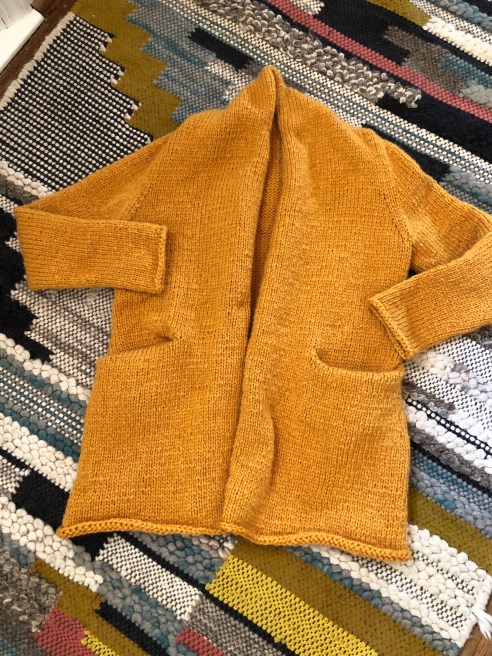
By now I’ve finished my Franca cardigan. I mentioned this project in a previous blog, and my wish to recreate an Isabel Marant sweater that I saw online. I found the perfect shade of yellow in Juniper Moon’s Fourteen. I bought my yarn and got started on August 28. Normally, I wouldn’t consider making a seamless sweater using Fourteen. It gets a beautiful drape with blocking, and I think it needs seams to anchor a sweater (especially a long cardigan). Between the Cocoknits Method (and that firm, faux-seam) and Fourteen being a totally delicious yarn, I’ve completed this project with ideal results.
There are other construction techniques I’ve learned to appreciate with this sweater. Judy’s Magic Cast-On is a method of provisional cast-on that is perfectly suited for this project. It’s surprisingly easy – but not the method I’d normally use. It’s indispensable for this project. I’ve also not been a fan of Jeny’s Surprisingly Stretchy Bind-Off over the years, but Weisenberger has us do this to finish sleeves and hems with a needle size much smaller than used throughout the project. It makes for a much more tidy edge that is still surprisingly stretchy.
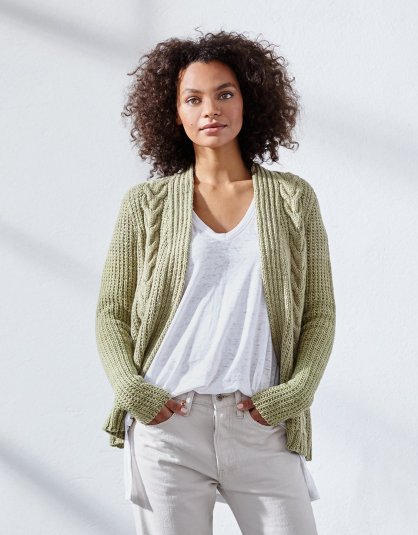
Now I’ve started Kiki, a cabled and open cardigan. I caught the Cocoknits bug, and I’m going to immerse myself in this process as long as my enthusiasm continues. I have a few recommendations based on my three Cocoknits Method experiences so far and here they are:
- If you want to make a Cocoknits Method Sweater, buy the book.
This is a terrific resource with all the techniques and tools you need complete the sweaters. I find myself referencing the book throughout the first few parts of the sweater, again and again. The photos help you orient your knitting properly throughout the initial, unique yoke construction. Plus, with all of the fit and how-to-flatter recommendations throughout the book, its worth the small investment. - Unless you’re a very savvy sweater knitter, start with one of the patterns in the book.
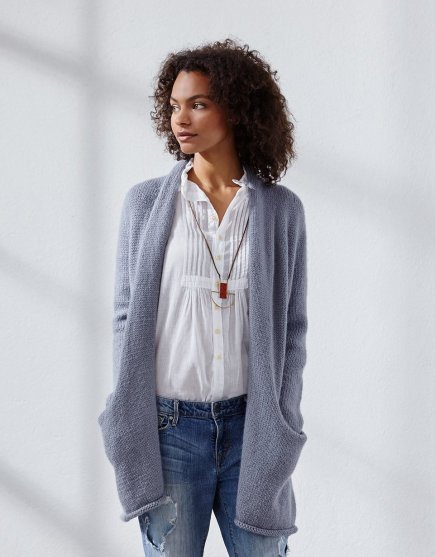
Emma and Molly are two very basic sweater shapes that will let you focus on the unique construction tecnique. Lizzie is an open cardigan that is also similarly simple. There aren’t obscure cast-ons or unique collar set-ups at the beginning. You’re really focusing on the basics within the book. - Follow the process as written. Weisenberger has obviously spent years finessing this approach. It’s tried and tested – it works.
Are you ready for a Cocoknits Method sweater? Here are some yarn recommendations for the projects I mentioned (whether they be in the book or sweaters I completed).


Emma: All versions of this sweater use a bulky-weight yarn. Brooklyn Tweed Quarry is an obvious choice, as stitches are clear and easy to see as you begin this process. Blue Sky’s Techno is a fun and fuzzy choice. If this is your first Cocoknits Method sweater, be aware that you won’t be able to see your stitches as well with this fuzzy yarn. I’m normally not a fan of using superwash wools on adult sweaters, but I would for this project and the Cocoknits Method sweaters. Cascade’s 128 is a versatile and easy choice as it’s easy to work with and easy to care for.
Renee: This pattern was originally written for Blue Sky’s Organic Cotton, and I’m actually considering making another version in this yarn as it’s new to Wool & Grace. Making it in a cotton like Blue Sky Organic Cotton or Juniper Moon’s Cumulus really builds on that “luxurious sweatshirt” vibe this project exudes. I will admit I’m not a fan of the drawstring hem on this sweater, and I love the ribbed hem modification… I would do that again, without a doubt. Other great yarn options for this project include Simpliworsted, Shelter or Blue Sky Extra or Juniper Moon Fourteen.
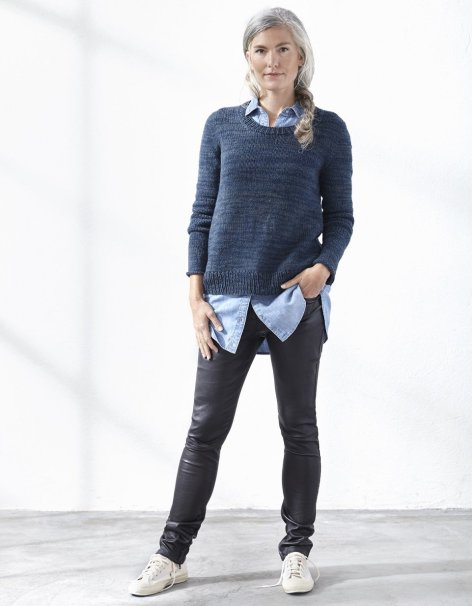
Molly: This fantastic and basic crewneck sweater calls for a fantastic and basic yarn like Shepherds Wool, Shelter, Kenzie, or even Katia’s Cotton Merino.
Franca: I’ve returned to my infatuation with Juniper Moon Fourteen because of this project. It’s squishy and cozy and perfect for this sweater. Pick something that will have a hint of drape, like Simpliworsted, Katia Cotton Merino, Blue Sky Extra or our new Stargazer Brushed from Juniper Moon Farms.

Lizzie: Step outside the more straightforward yarn choices listed above for this cardigan, which can be knit in any number of fibers to create a cardigan that can be worn throughout the year. You’re supposed to knit this up at a gauge that is a little loose for the fabric type so it has some drape, so pick something that is DK-weight at the heaviest. I’m imagining it in Knit One Crochet Too’s Daisy or Cozette, Rowan’s Cotton Cashmere, Tosh Merino Light or Baah La Jolla. There are gorgeous versions of this using Shibui’s Lunar or Vine or Twig. There are so many options and you can create a substantial or diaphanous fabric for this piece depending on your yarn choice.
We hope to host a Cocoknits Method Sweater class at Wool & Grace this fall, so stay tuned and register if you want to catch the Cocoknits bug! If you have any questions, feel free to email us at info@woolandgrace.com – and remember that you can get all of your Cocoknits goodies with us in store or online!

Thank you for your yarn recommendations for Cocoknits sweaters.
LikeLike